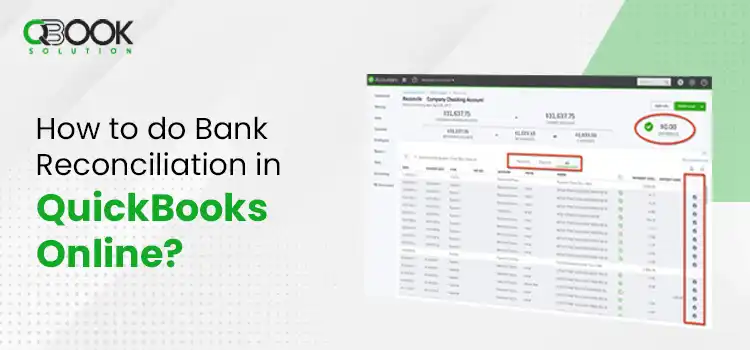
Need help with your quest on how to do Bank Reconciliation in QuickBooks Online? You have made it to the right post where all your queries will be answered.
Bank reconciliation in QuickBooks Online lets users match the bank transactions recorded in the program. Thus, you can make sure that the transaction entries in both places (bank and QuickBooks) are accurate. It eliminates the scope of any error in your financial records. However, if you are clueless about the bank reconciliation procedure in QuickBooks Online, this friendly guide explains it all for you. Let’s have a look!
What Is QuickBooks Online Bank Reconciliation?
QuickBooks Online bank reconciliation ensures that the general ledger balance recorded in the application matches those in the bank. If they match, your records are accurate. On the contrary, if they don’t match, look for the discrepancy or missing information. Thus, you can make corrections to the general ledger and keep flaws at bay.
For instance, if your bank is charging you a monthly service fee, it doesn’t reflect on your general ledger. It can leave inaccurate records in the general ledger. You need to add the service fee to the general ledger to match it with the transactions in your bank.
Why You Should Reconcile Bank in QB Online?
Is bank reconciliation needed in QuickBooks Online? Yes! It is one of the crucial tasks related to your business accounting that keeps the accuracy of the transactions in the general ledger in check. There are several advantages of reconciling your bank account in QuickBooks.
Reconciliation helps you ensure the accuracy of your financial records. You can get to know about the errors and discrepancies in your records, and thus, you can rectify them as well. However, while doing so, you need to make sure that you have a dedicated business bank account linked to the QuickBooks Online application.
Things To Consider Before You Reconcile in QuickBooks For the First Time
Before reconciling your bank account in QuickBooks Online application, you need to keep some crucial pointers in mind:
- There Are Thin Chances That Your Bank Statement and General Ledger Match
- It is less likely that your general ledger and bank statement will match. Regardless of the advantages you can get after reconciling your bank account, it doesn’t do all the work for you. They mostly match when there is no activity in your bank account.
- Keep An Eye On Your Outstanding Checks
- In case you are making check payments to your vendors or employees, you need to track those checks. Besides, it highlights the checks that are outstanding at the end of the month.
- Keep Checking For The Discrepancies
- You need to keep an eye on the discrepancies as well to look for the issues that might go missing when not checked thoroughly. Therefore, you need to be agile after reconciling your bank in QuickBooks Online.
How To Reconcile Bank Account in QuickBooks Online?
QuickBooks Online enables users to reconcile their bank as well as credit card accounts. Once reconciled, QuickBooks Online will match the transactions between the general ledger and your bank account. Below is how you can reconcile in QuickBooks Online:
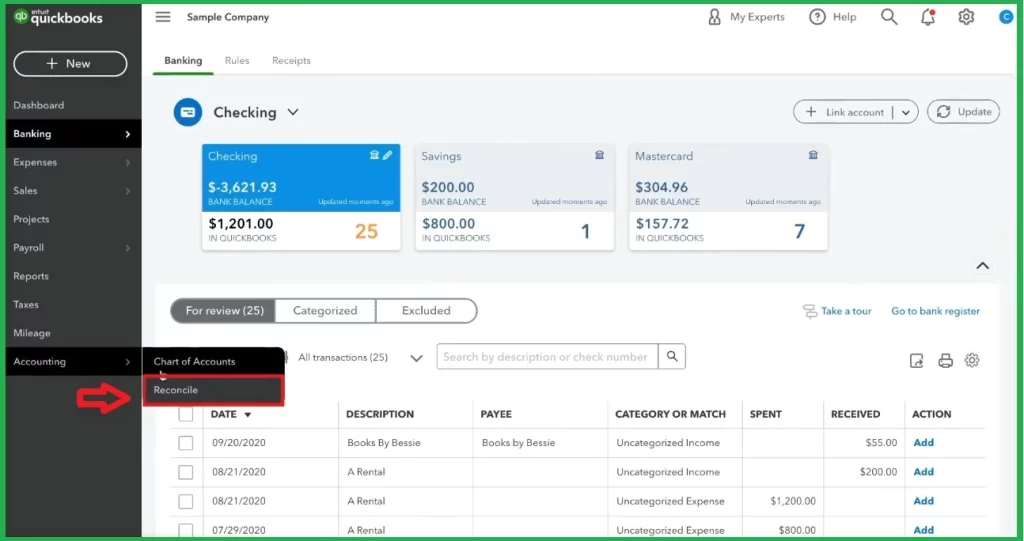
Step 1: Go To The Reconciliation Page
In the first place, you need to make a visit to the reconciliation page. QuickBooks Online has two ways to open the reconciliation page.
- Click on Accounting >> Select Reconcile from the left pane.
- Click on the Gear icon from under the Tools >> click on Reconcile.
Once you open it, two blue links will become visible:-
Summary – This tab shows a list of past reconciliations and their completion date.
History by Account – It shows the same list with the modifications or auto-adjustments made by the QuickBooks application. Besides, it also gives the option to print reports.
Step 2: Choose Your Bank Account For Reconciliation
Next, you need to choose an account connected to QuickBooks Online. Alternatively, you can also choose a bank account that is not connected to the application already. If you wish to reconcile your checking account, you may choose the checking option using the drop-down list. Moreover, various assets and liability accounts can also be reconciled in QuickBooks Online.
- After selecting an account, click Reconcile.
- You can also save the progress and return to continue the process by clicking the Resume Reconciliation button.
Step 3: Provide Bank Statement Information

When on Reconcile Window, you will see the following options:
- Beginning balance
- Ending balance
- Ending date
You need to check and confirm that the start balance in QuickBooks Online should match the beginning balance on your statement. These balances won’t match if you haven’t reconciled the accounts for the previous month. After matching them, enter the ending balance, which is there on your bank statement, and the statement’s ending date as well. After entering this information, you can click on the Start Reconciling option.
Step 4: Match The Transactions
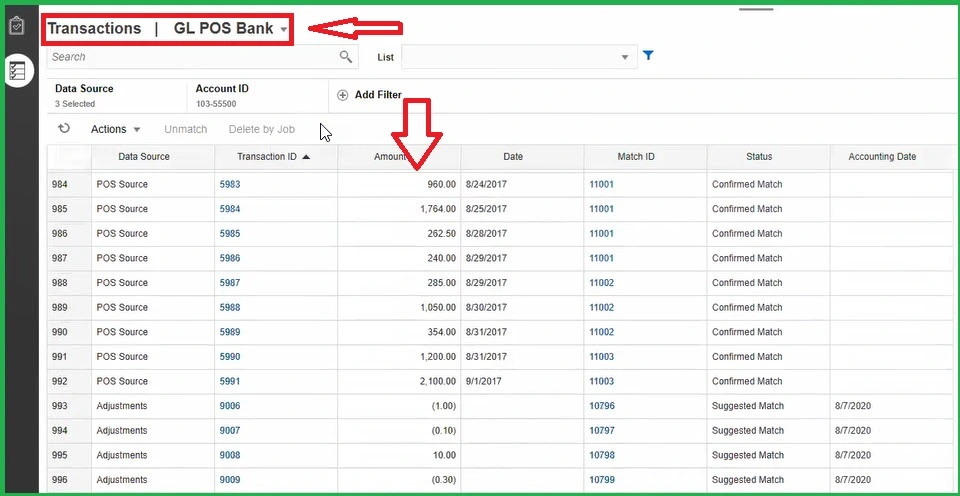
After connecting your bank account to QuickBooks, you need to make sure that the downloaded transactions have been matched to the recorded transactions. When you see the transaction list on your bank statement appearing on the screen, check line-by-line if the details match or not. If the details match, you need to check the circle at the end of the line, which means that the transaction is marked as “Cleared.” The Cleared amount will now be subtracted from the difference you will see at the top of the screen.
Important:
Applying filters will enable you to find the transactions with ease. You can filter the list of the transactions by:
- Payments
- Deposits
- Cleared status (“C”)
- Transaction type
- Payee
- Date
Step 5: Keep Clearing Transactions Until “Difference” Is Zero
Now, you need to mark every transaction from the list as Cleared until the difference shows Zero. In case the difference is not Zero, you need to figure out why. There are several possible reasons behind this discrepancy. For instance, some transactions from the statement are not entered into QuickBooks Online.
Here, save your work and look for the missing transactions to move ahead with the reconciliation process. Also, check and confirm that you haven’t unchecked a previous reconciled transaction. Furthermore, look for the accuracy of the entered information. The incorrect entries can be rectified using the Edit Info option.
Step 6: Save The Changes You Have Made
When all the entries are correct, you will receive a “Success!” message for the same. After getting this message, hit the Finish button.
In case the difference is not zero and you are unable to continue with the process, you can save the work and proceed with the same later using the Save for later option.
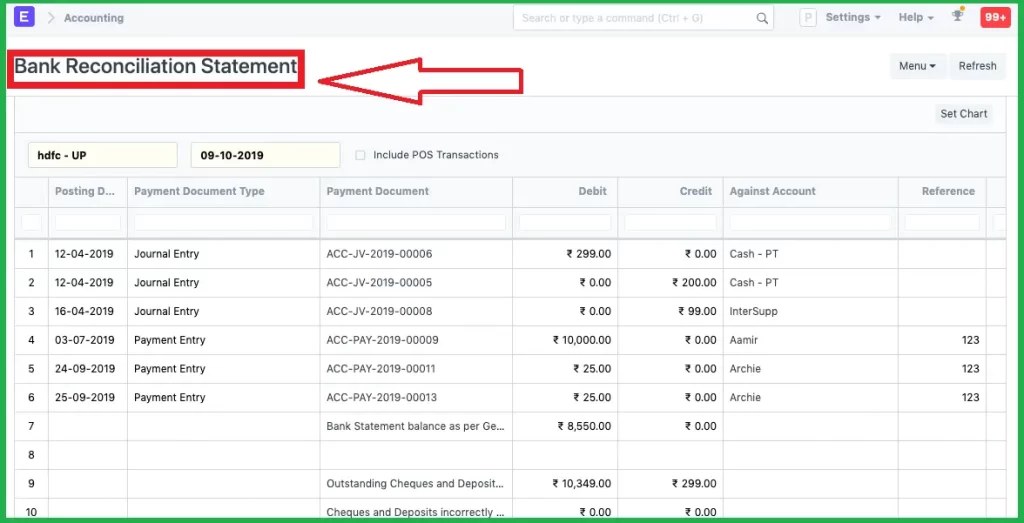
Step 7: Print Reports
After getting the “Success!” message, click View Report, and it enables you to print the reconciliation report.
After the success of the reconciliation process for one account, you can repeat the same process for all your accounts, one after the other.
To Sum It Up!
Reconciliation is an important practice for the accurate financial management of a business. This ensures the accuracy of the records and saves you from mistakes and fraudulent activities. The procedure described in this post can make this task easier for you. Users finding this task difficult to accomplish can reconcile bank statement in QuickBooks Desktop with professional help.
Frequently Asked Questions
There are multiple benefits of bank reconciliation in QuickBooks Online. You can make sure that the recorded transactions are accurate. Besides, it keeps you safe against fraudulent activities. Moreover, you can maintain efficient cash-flow management. Also, it lets you determine the unrecorded transactions. Thus, QuickBooks Online bank reconciliation can help your business with the multi-pronged advantages.
The below-stated steps can help you undo reconciled transactions one by one:
- First of all, in the Accounting menu, select Chart of Accounts.
- Next, locate the account and select the option labeled View register.
- Here, you may filter the register to include the last 60 days’ transactions only to simplify the task.
- Next, you need to review the check column. You will see “R” after the successful reconciliation.
- Select the box and click on it. Once it is blank, the transaction from the reconciliation is removed.
- In the end, select Save.
After the successful completion of the task, you can close the register.
When reconciling bank statements to those recorded in QuickBooks Online, you may encounter several problems. Some of the common QuickBooks bank reconciliation problems are – missed reconciliation, flawed posting of debit as a credit, and duplicate payments.
If you are facing trouble during the reconciliation process, you may acquire help from QuickBooks via chat, email, and helpline.